


The Art of Imaging and Analysis
VDA labs is brought into many different types of situation where a client may want imaging and analysis. From diagnosing patient zero during a malware outbreaks to employee espionage taking system images and doing analysis is a important part of the security posture of an organization. In this blog post VDA will be talking about and showing how to take an image and import it into Autopsy for analysis.
Getting the Image

Although there are many ways of imaging data from systems including creating FTK Imager and .DD images, VDA Labs prefers to use a Tableau TX1 Forensic Imager. This lets VDA image SATA, SAS, PCI-E, NVME, IDE, USB, Firewire, and even iSCSI LUN’s. The Tableau TX1 can do direct 1-to-1 and 1-to-many clones along with creating .ex01 and .e01 EnCase file formats and .dmg and .dd raw images.
VDA typically creates .e01 EnCase images which supports MD5 and SHA-1 hashing to verify the contents of the image and the original contents being imaged are identical. EnCase images have the added benefit of being compressed allowing for multiple images to be placed on a single drive.
Setting Up Autopsy
Autopsy is a free* digital forensics platform that can be configured to run standalone or from a central repository allowing many forensics experts in an organization to work collaboratively. After installing Autopsy, VDA typically adds a few plug-ins to help with our analysis.
- National Software Reference Library
- Using the NSRL, known good files can be ignored from our analysis helping cut down on the amount of material to process
- Enable the experimental plugin
- This allows Autopsy to import Volatility memory images for analysis
- Email Parser
- Allows Autopsy to import and extract MBOX and PST files for analysis
- ClamAv_Hashsets
- Automatically checks files against ClamAV hash sets to find malware
- Process EVTX
- Processes Windows log files
- File History
- List file access history from system
- Process Extract VSS
- Extract VSS images for analysis
- Process Prefetch
- Extract and parse Windows prefetch data
- Parse SAM
- Parse the Registry
* Commercial support is available
Mounting the Image
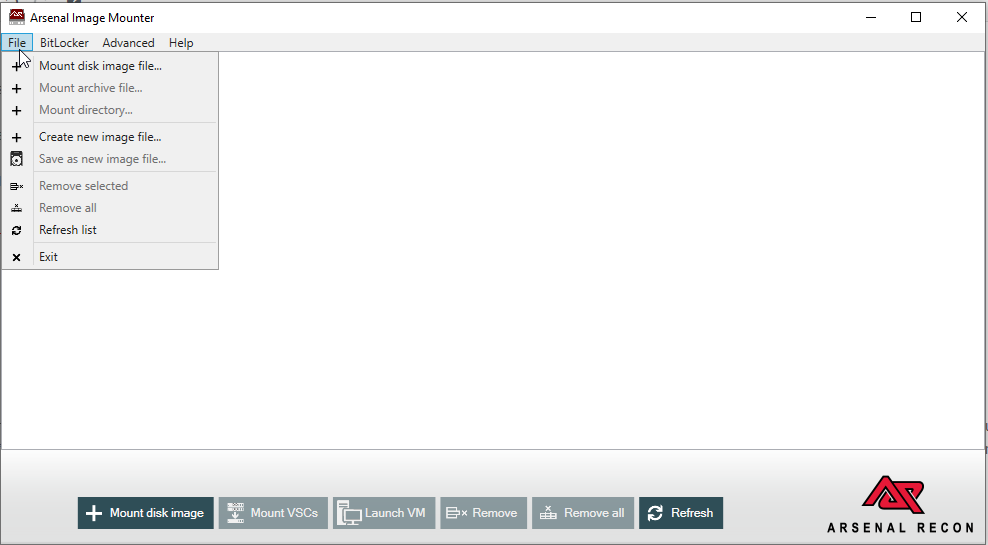
Once VDA creates an image, the next steps are to mount the image in such a way that we can start analyzing the data. Before Autopsy can start ingesting the data, we need to mount the image we created. VDA uses the free version of the Arsenal Image Mounter for this process. This software allows VDA to easily mount .E01 images. If needed, we can also decrypt the Bitlocker/Veracypt/LUKS volumes on the drive.
Out first step is to mount our disk image. This can be done be selecting “Mount Disk Image File” from the File menu drop down.
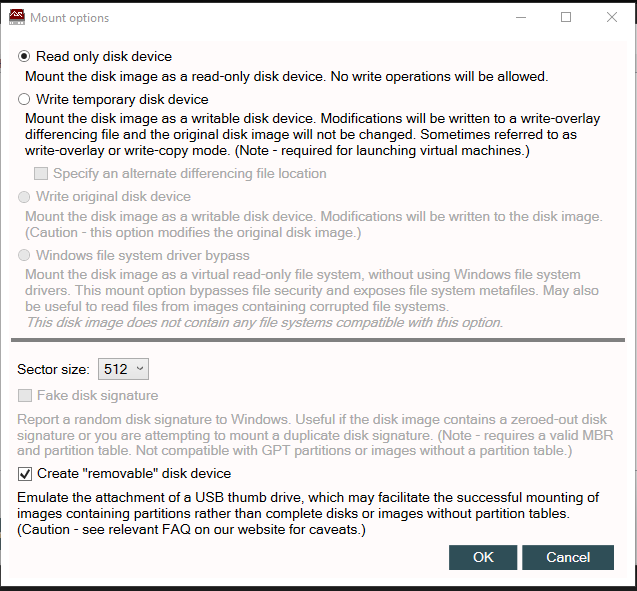
With the image selected we are left with a few options we need to choose. VDA mounts images as read-only to ensure their integrity is maintained. If read/write functions are required VDA uses a temporary disk device to ensure the original image is not modified. The file created with this options is an overlay that contains all modifications made to files and the file system without modifying the original image.
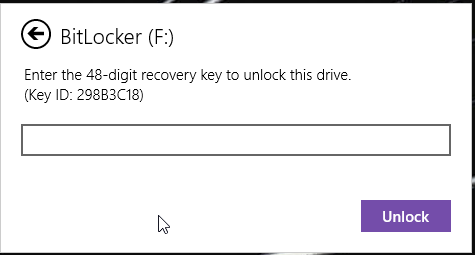
The next step may or may not be needed depending on if the system being imaged is encrypted. In the case of the image being used for this tutorial, the drive was encrypted using Bitlocker on Windows 10. Before we can import our data into Autopsy, we need to decrypt our image.
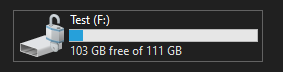
With our image decrypted we should see our drive unlocked in File Explorer and it should be ready for analysis.
Importing Data Into Autopsy
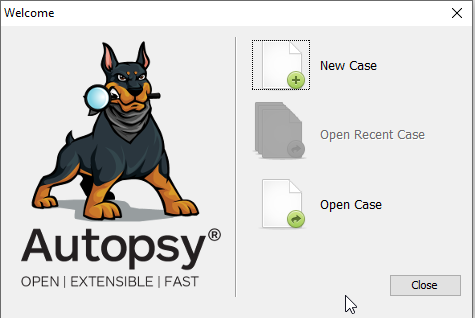
With our image mounted and decrypted we can go ahead and start a new Autopsy Case.
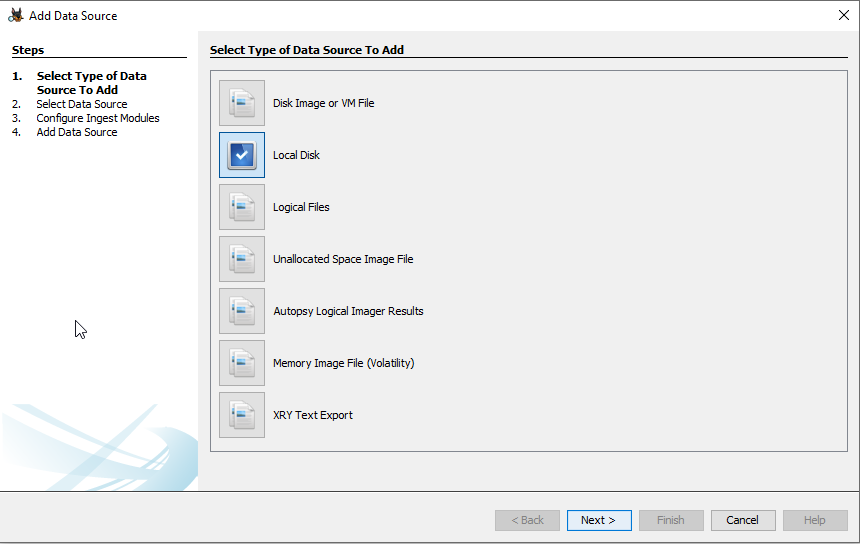
With the case started we need to start importing and analyzing our data. When starting a new case, Autopsy will automatically open the “Add Data Source” dialog box. For this example we will be scanning a “Local Disk” since we mounted the image we created as a local disk in Arsenal Image Mounter.
We will need to select our data source on the next screen. In this case it will be drive F.

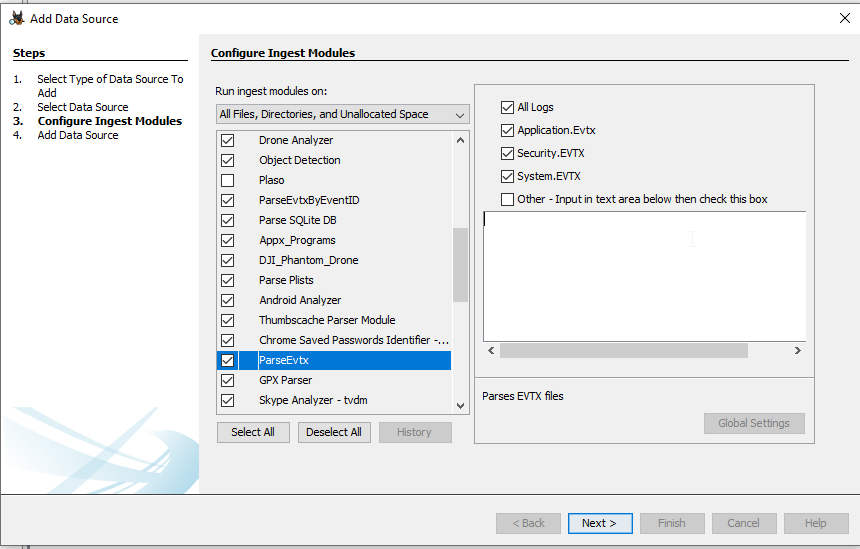
Select and configure ingest modules to be used for this ingestion.
If everything is successful you should see your data source appear in autopsy and see that autopsy has started processing the files it finds.

From here it is up to the analyst to find data pertaining to the case they are working on.
If you have any questions about application, IoT, or system security please visit VDA’s home page to view our services.
Related Posts
Lessons for the Enterprise from Running Suricata IDS at Home (Updated 2025)
Running Suricata IDS on pfSense provides powerful intrusion detection and prevention for home and business…

The Dynamic Duo: Unveiling the Inherent Value of SOC and SIEM in Elevating Network Security
Understanding the Security Operations Center (SOC) At the Core of Cybersecurity Strategy A Security Operations…

A Look into Application Security Assessment Techniques
In software development, application security assessments are a key part of ensuring a robust cybersecurity…

Cybersecurity Insurance: A Complete Guide
Cybersecurity Insurance Requirements In an era dominated by digital technologies, the significance of cybersecurity has…